Basic payments
- Select the account to send from,
- Click on the send button (in the red box),
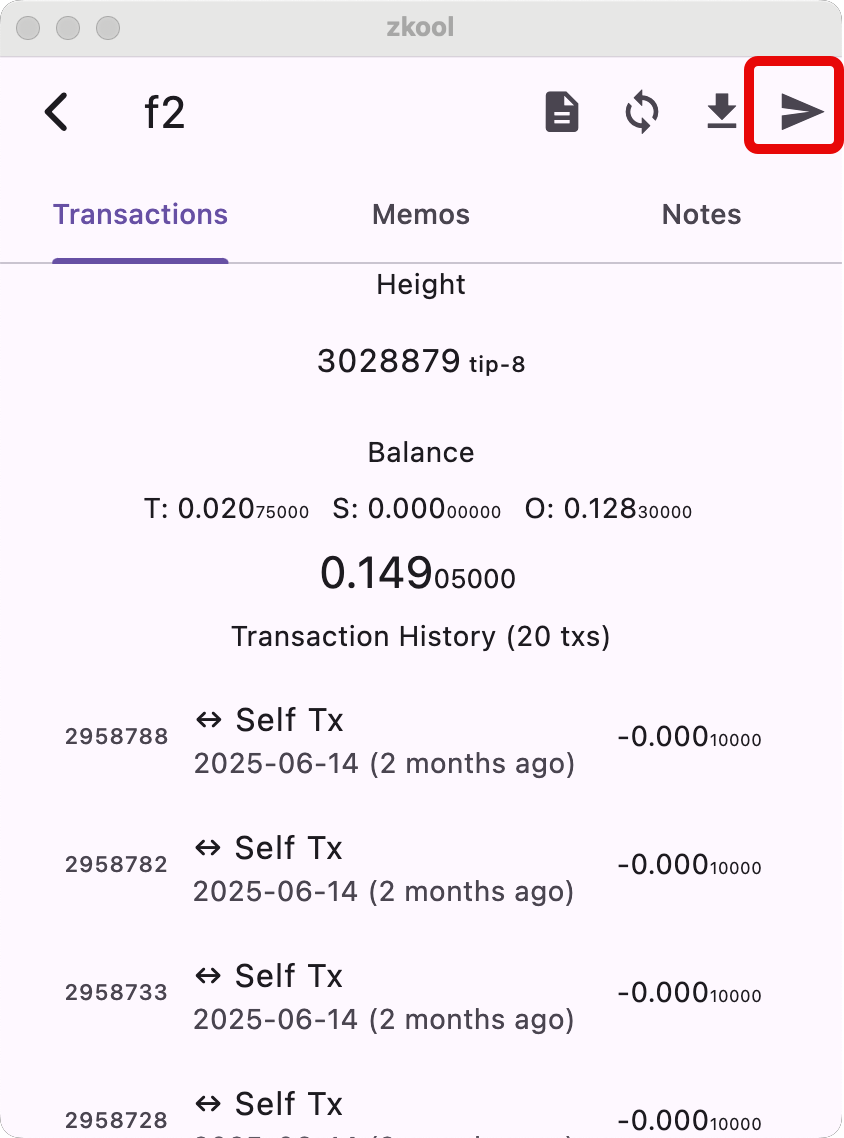
- Enter the destination address and the amount
- If the destination is shielded, you can attach a memo
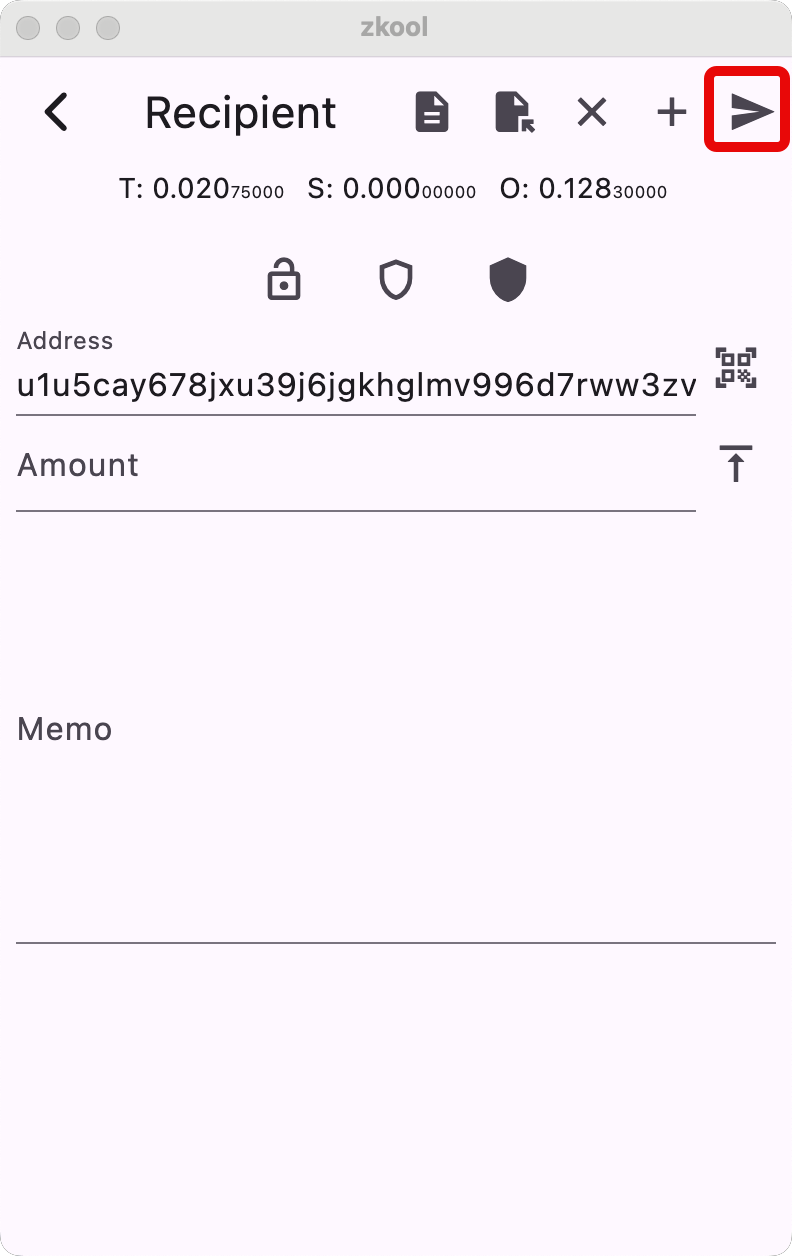
Warning
Transparent addresses do not accept memos.
Click on the send button to continue to the next step.
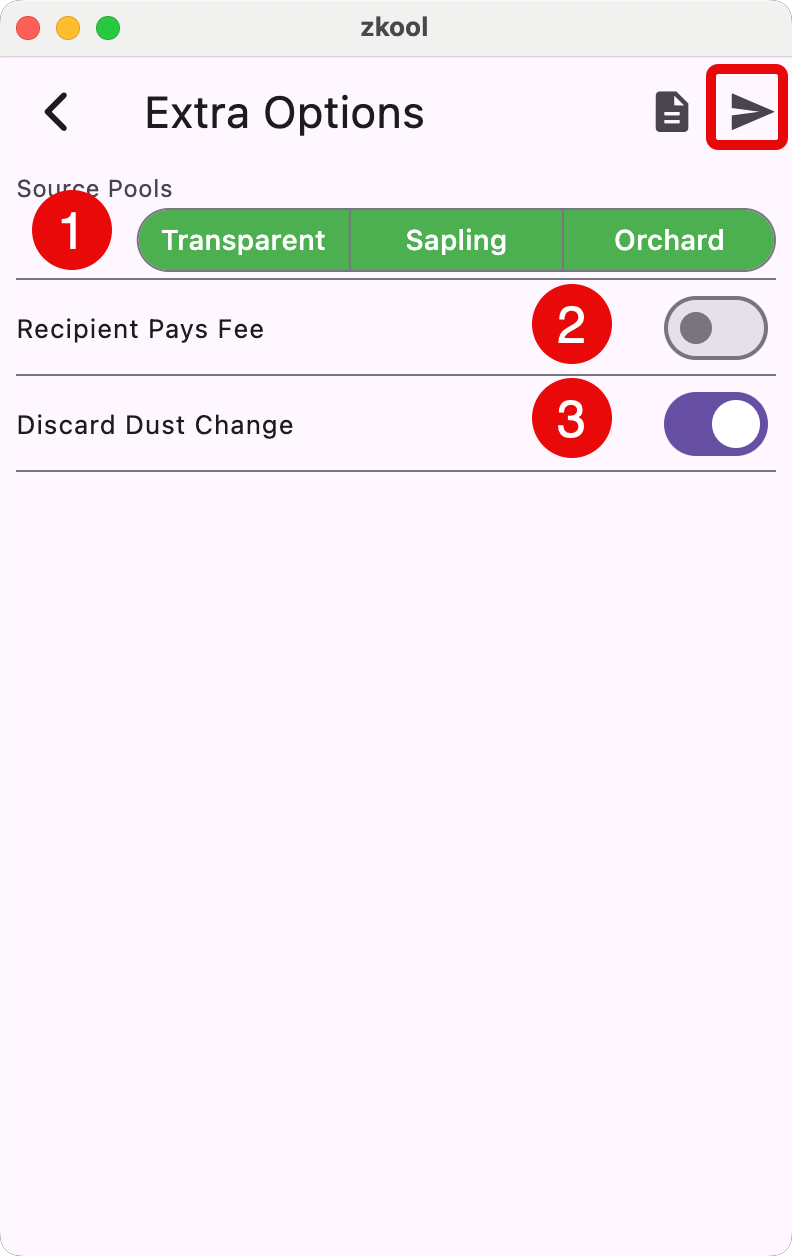
In most of the cases, you can leave everything as it is.
Here's what the form means.
- Choose which pools you allow Zkool to use. Zkool will try to maximize your privacy by choosing notes that give the most private transaction. But it is not always possible. For example, if you have Transparent funds, Zkool can use them if there isn't enough Sapling or Orchard funds. By deselecting a pool, you tell Zkool not to use it.
This is unlike most shielded wallets that NEVER use transparent funds of your wallet to send to an external address.
- By default, you pay for the transaction fees and you spend more than the amount you indicated on the previous page. If you switch this on, you tell Zkool to deduct the fees from the amount sent to the recipient. Fees are automatically calculated based on the network rules.
- If you input an amount that makes the change so small that it is below the "dust" amount, by default Zkool will just drop the change. The network rejects outputs (including change outputs that are too small). This only applies to Transparent Change since Shielded Change are hidden to the node validators.
Click on the "Send" button to continue.
Zkool calculates a transaction and proposes it to you.
You can ignore the transaction plan unless you want to troubleshoot an issue or see exactly what's going to be published.
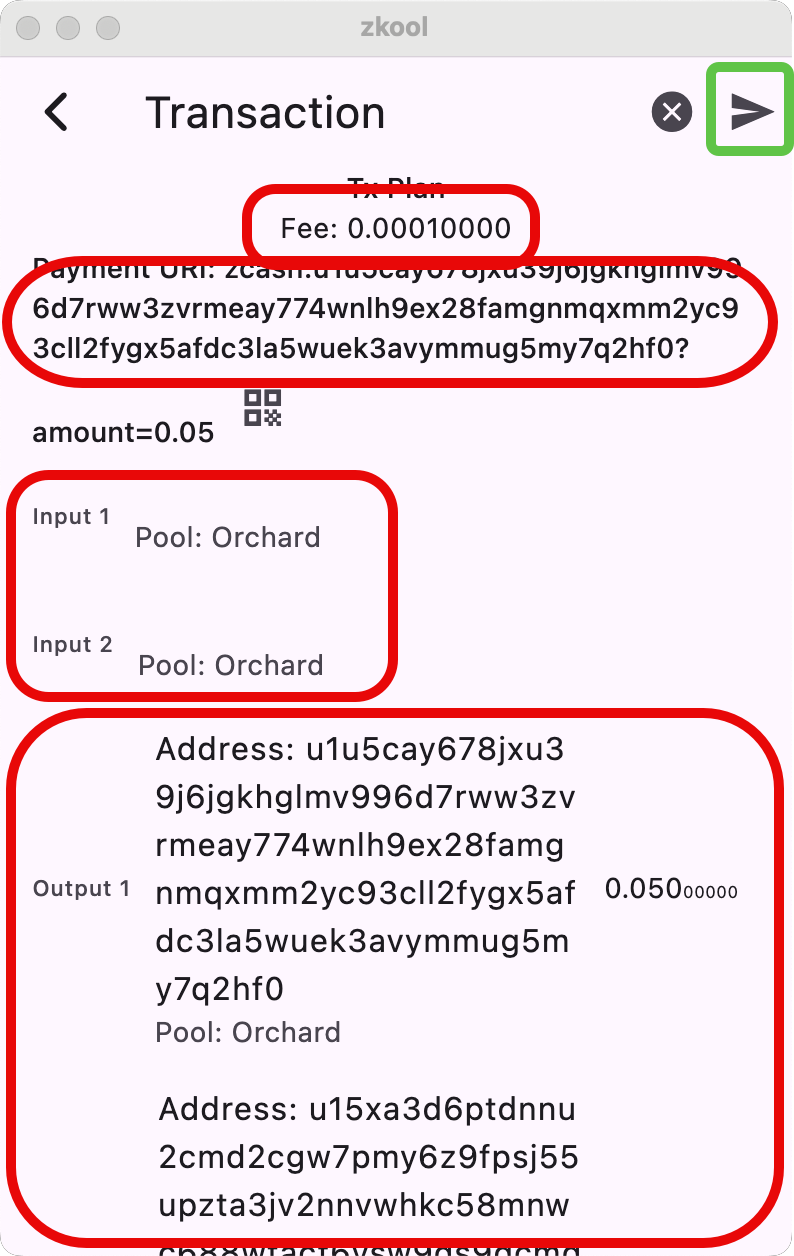
The page shows the fees (related to the number of inputs and outputs) and a payment URI representing this transaction.
Payment URI
The Payment URI allows you to "save" the transaction if you need to repeat it. You can copy/paste a payment URI in the address field of the Send Page or scan the QR code.
See Payment URI
Coin Control
You can exclude some notes from the transaction by deselecting them in the Notes tab.
Inputs/Outputs
The Transaction Plan shows the inputs and outputs with the pool and amount of the notes.
At this point, you can "cancel" the whole transaction or send it out.
If you send it, you get a final confirmation prompt and off the transaction goes.
Close the page by clicking on the close button (X).
Troubleshooting
If you get an error after trying to send the transaction, it is usually coming back from the server. Unfortunately server error messages are not famous for their user friendliness.
The most common cases are:
- transport error: Some network issue prevented the submission of the transaction to the server. You can retry by clicking on the send button again.
- the transaction uses some input that was already spent. That is usually because your account is not synchronized to the latest block and hasn't seen a transaction that has spent the note.
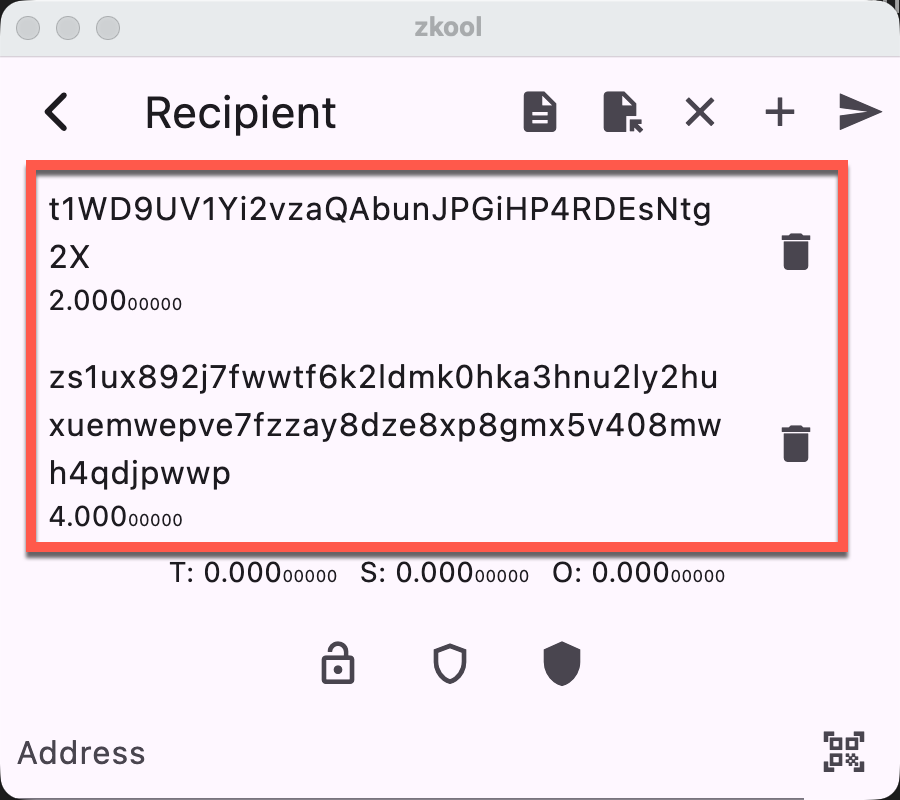
Multi Recipient Payments
To create a payment with multiple recipients, instead of tapping on the "SEND" button, choose the "+".
This adds the recipient to a list.
Tips
You can select items form the list to edit them, and remove/add new entries too.
The list has the address and amount sent to each recipient, but excludes the memo field. To see it, select the item to move it to the form.